Created: 12/23/2016
Updated: 02/09/2017
ESP8266 Gameboy Printer
A WIFI enabled device to emulate the Gameboy Printer, powered by ESP8266.
Story
Recently I went to Japan, being an electronic enthusiast, I have to visit Akihabara. Also as a retro game lover, I can't resist to visit their vintage game shop. There are not a lot of vintage game shops, but I did managed to find some around the corners.
With no particular goal in mind, I stumbled upon a mint condition Gameboy Camera! For the uninitiated, it's a digital camera for your Gameboy. It also includes some effects (mirror, panorama, etc.) and stickers that you can add to the photos you took. And it only costs ¥1280, so without any doubt, I bought it instantly.
There are lots of hacks around the Gameboy Camera, this one talks about how he managed to dump the save file and extract the image. Another one turns it into a camcorder. Looks very hacker friendly to me! 90's tech for the win!
Getting back home, and plugging the game into my Gameboy I went out shooting. The cart worked great, they even changed out its battery and clean it up real good, I'm still impressed by the work of Japanese shops. After a fun day of shooting, there comes the problem: How am I going to get the photos out of it? I want a digital copy and preferably I can transfer them on the go so I can post the photos to Instagram and brag about it, hahah! But how? Let's jump into it!
Theory
The answer is ESP8266! A WIFI chip SO powerful, and cheap at the same time! The theory is to use it to emulate the Gameboy Printer, save the photos to its flash, WIFI set to AP mode, and finally using an internal web server to deliver the photos. Sounds easy?
Gameboy Printer Protocol
Gameboy Printer is an accessory that came out along with the Gameboy Camera. In short, it's a portable thermal printer. All I need to do is to understand the protocol and emulate it on ESP8266.
After a bit of Googling, this document helped me the most, also this guy's blog too. It's SPI protocol with CPOL = 1 and CPHA = 1, Printer acting as a slave, meaning the Gameboy is the one giving clock signals. It has its own command and packet which I'm not going into details here.
The problem is, the Arduino core for ESP8266 doesn't support that SPI configuration, so I have to bit bang them myself. I decided to use interrupt to listen for clocks, and trigger respecting commands after the packet finishes. The clock Gameboy sends out is quite fast, so I can't do too many things in the interrupt service routine. Thankfully my code worked as intended, and after the last data packet, the image buffer is stored into the SPIFFS.
Image Format
Now the image data is stored on the SPIFFS, how do I recreate it on the web page?
The Gameboy Printer has 4 bits of color depth. So black, dark grey, light grey, white. At first I thought the tile (8x8) is just going pixel by pixel, top left to bottom right, so 2 bits forms a pixel. I was SO wrong. All the resources I looked at doesn't really explain how a tile is formed, so I looked at that Word document again and it turns out, the Gameboy Camera is sending the image data in Gameboy Tile Format. Wat? After more Googling, this document explains it quite well in the video section.
After a while of facepalming, I implemented the decoding in Processing, then using Processing.js, I can render the image on HTML canvas!
Hardware
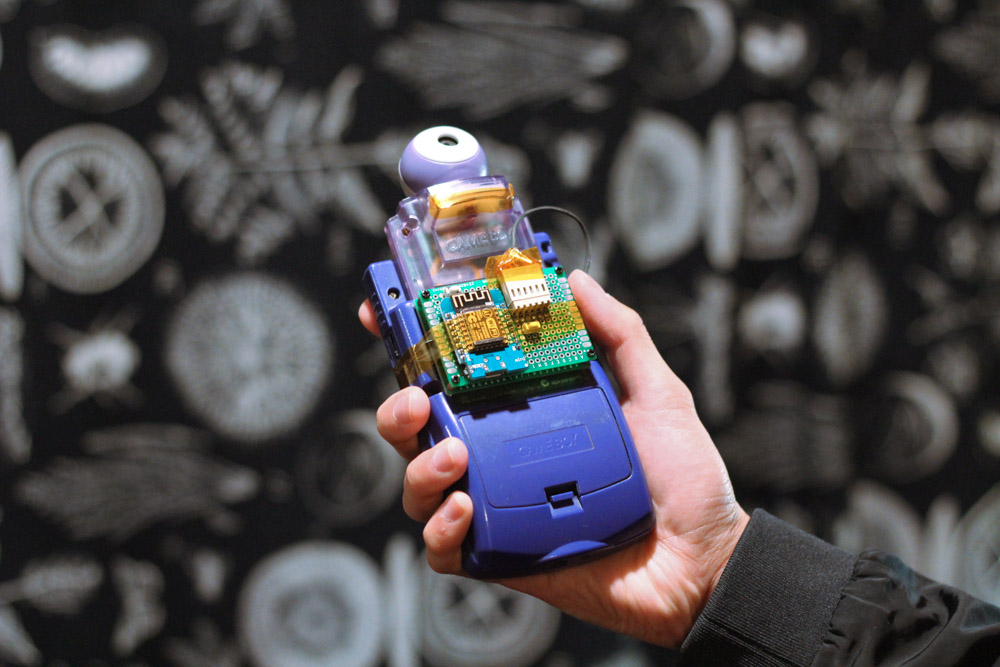
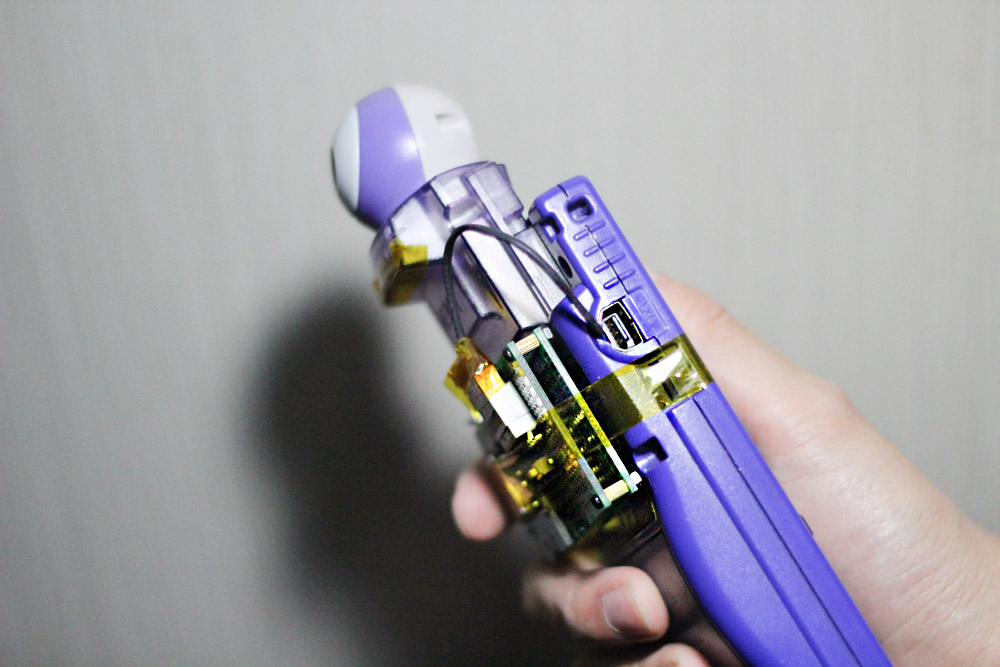
Now the code and prototype is done, I want to make it in a small package so I can bring it out to the field and have some fun! I choose to use Wemos D1 Mini since it has its own voltage regulator and serial to USB chip. I don't have a Gameboy link cable handy so I teared it open and solder the 4 signals I need to a 2.54 polarized connector and heat shrink the cables. The connections is pretty straightforward, Pin 2 is Serial Out, Pin 3 Serial in, Pin 4 Clock, and Pin 6 Ground. The Pin numbers are printed on the PCB of the Gameboy.
Result
The things works pretty great! There are few bugs I need to squash though. In the mean time, if you wish to build one yourself, check out my code on Github. Fork it, improve it, make pull requests! And of course, go out and take photos then enjoy brag them on your social network!
Known Bugs & Limitations
- Due to my laziness, I hard coded the image packet size (5760 bytes). You're suppose to calculate it from byte 5 and 6 of the command packet. So right now, it only supports the Gameboy Camera.
- Sometimes the web server will not respond after you printed the photos. My guess is that because the way interrupts work, the
server.handleClient()function will not get finish every time the interrupts happen, leaving internal state machine stuck. I can fix this by adding a toggle button to switch on and off the web server.
Resources
Kind people on the Internet helping me out with this project, thank you!
Expect Updates!
I will add pictures of the projects here and hopefully fix those 2 bugs!
- Update 1: Added pictures of the finished product. (02/09/2017)